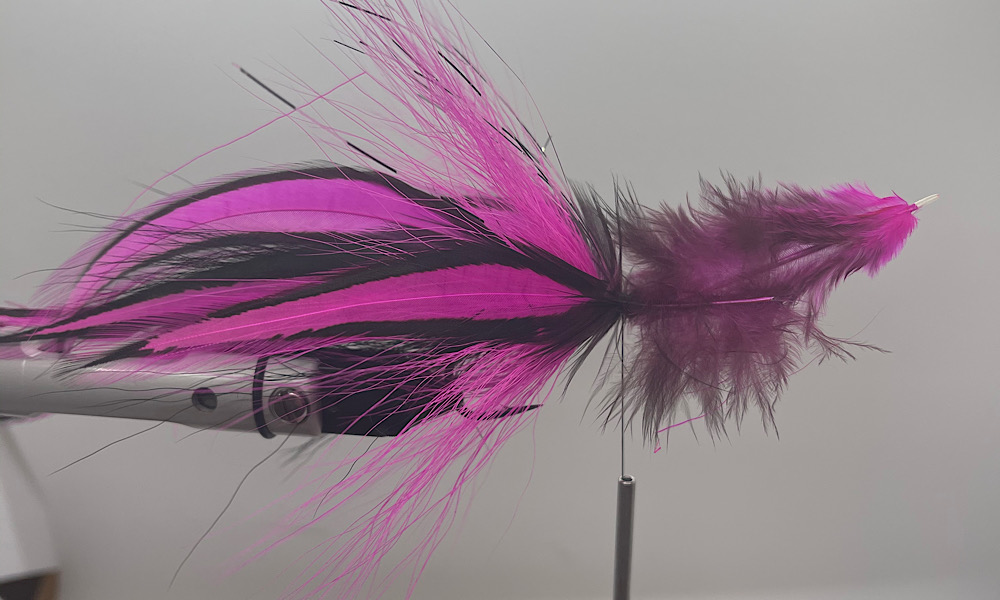
Pink Danger

Pink Danger Recipe
Hook - Gamakatsu B10S
Thread:Thread - Veevus GSP
Tail:Feather - Hackle Feathers - Black on Pink - Magnum
Body:Bucktail - Buck tail - Primo Large
Flash:Flash - Pink barred black
Shank:SHANK - Big Game Shank - 40mm
Head:Bucktail - Buck Tail Back side
Recipe By
Jay VerHelstAbout the Pink Danger
This fly is great for Muskie and Pike. What sets this fly apart is its feathers, black on pink is awesome and with a big head it pushes a ton of water!
How to tie the Pink Danger
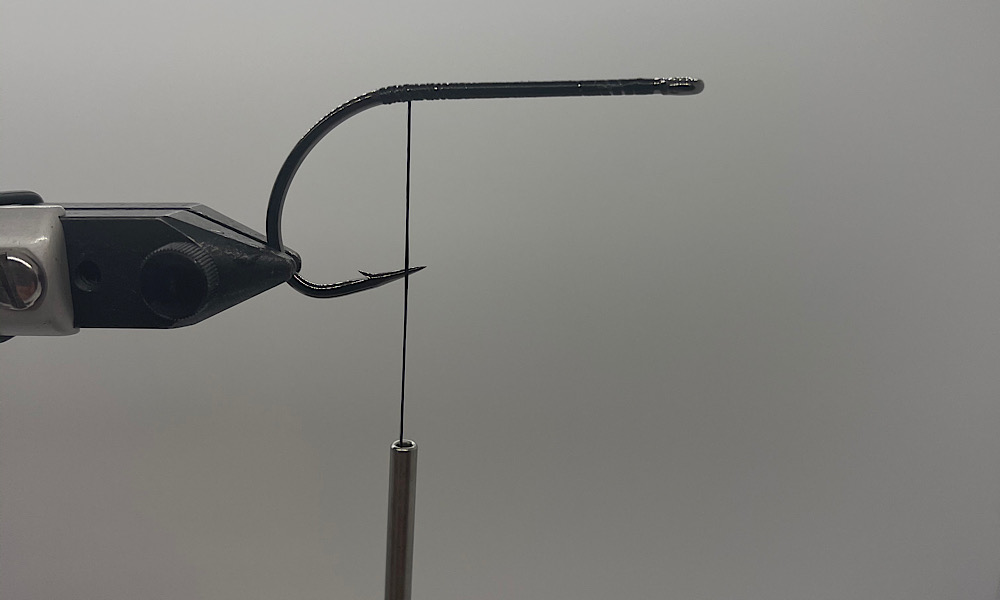
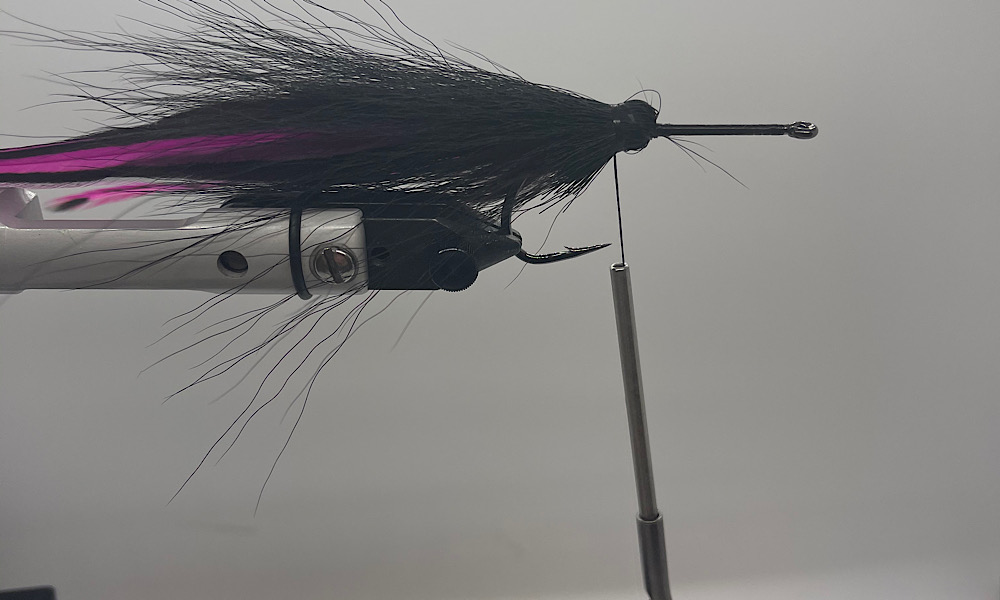
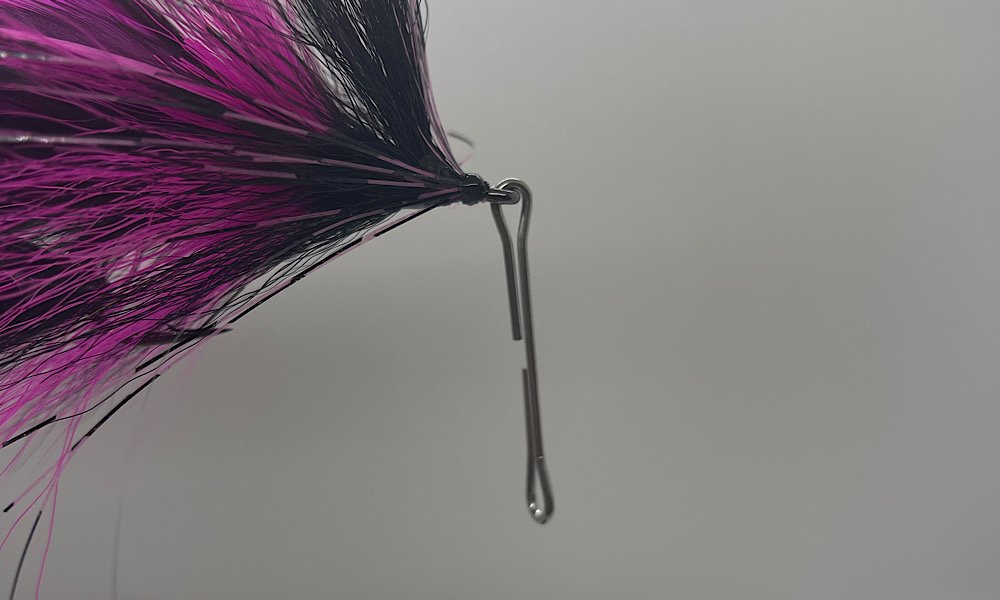
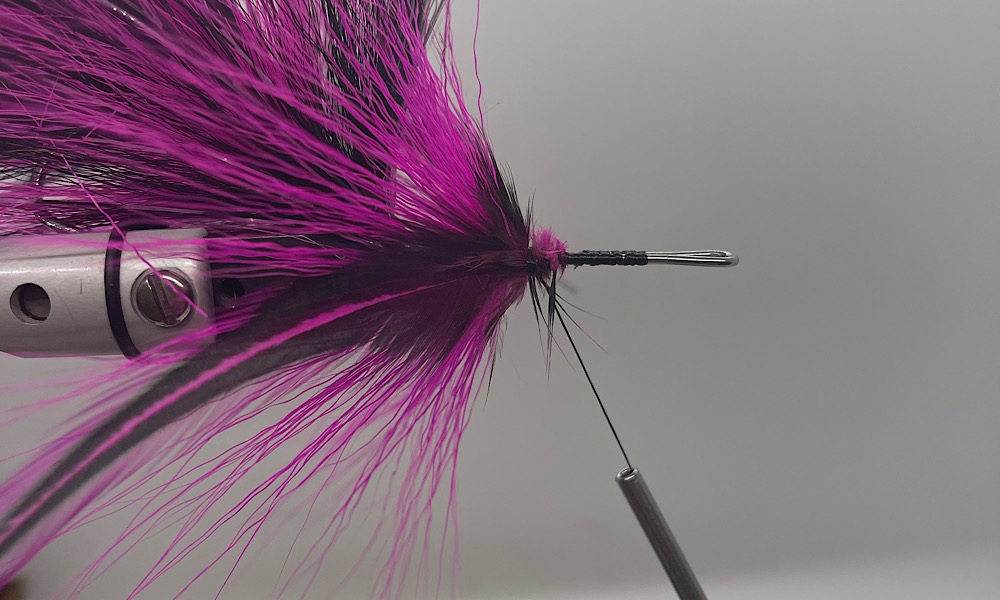
Step 1: Start
Insert 4/0 hook into vise and start your thread making consecutive wraps work your way towards the bend of the hook.
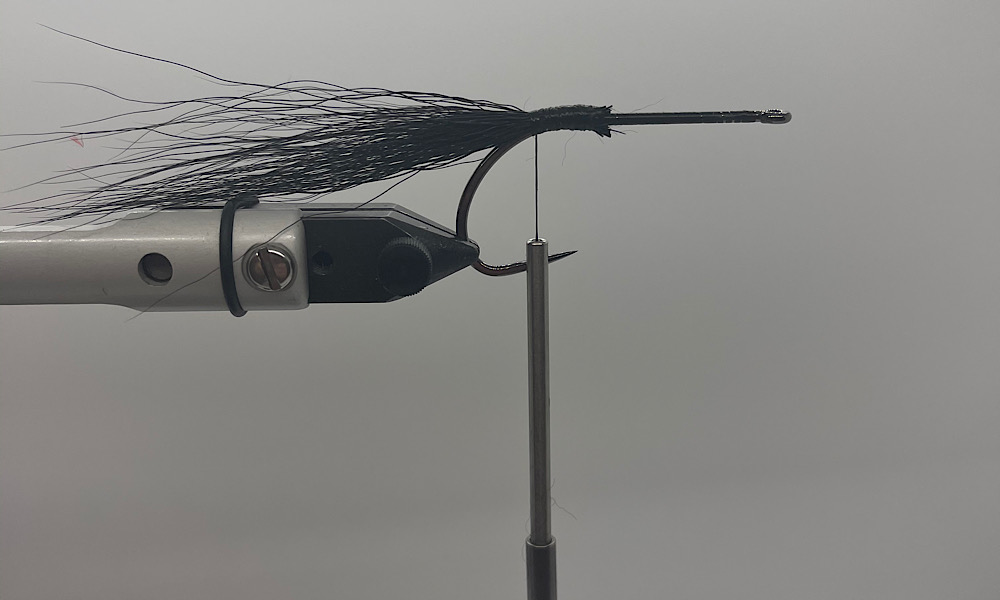
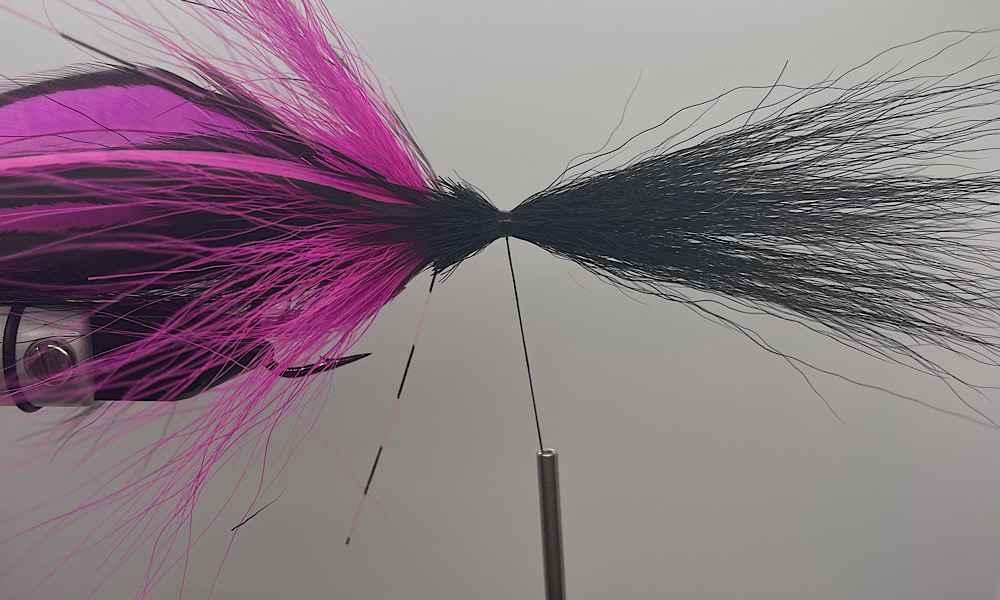
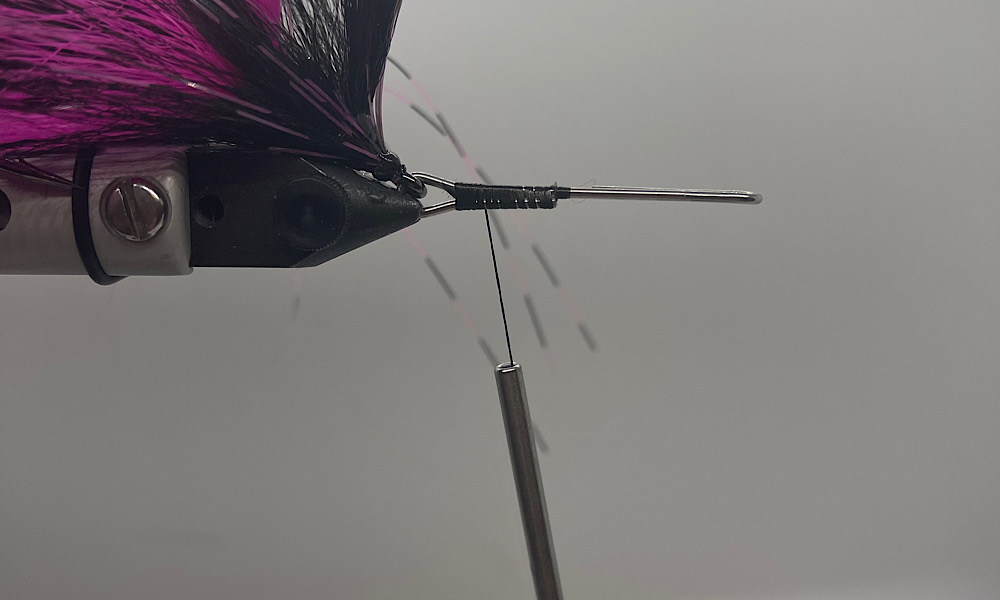
Step 2: Tail
Select a small clump of black primo buck tail half the diameter of a pencil and tie it directly to the shank. This will supply support for the tail feathers and keep them from wrapping on the hook.
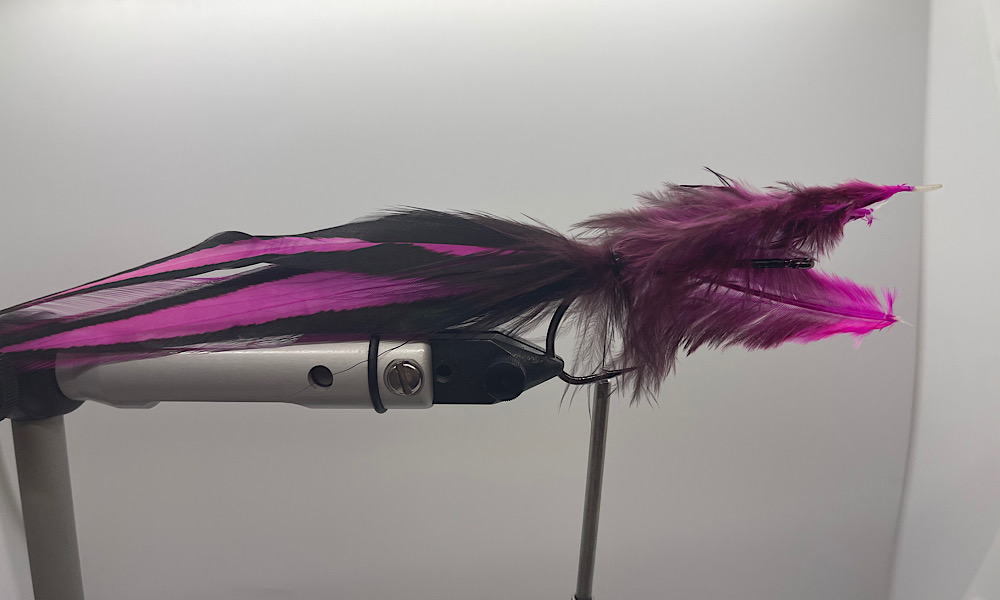
Step 3: Tail feathers
Select three long feathers from the pelt of the same size and shape. Tie in one on each side of the hook and the third over the top of both side feathers.

Step 4: Trim
Trim tag ends off and UV Cure the thread wraps to secure.
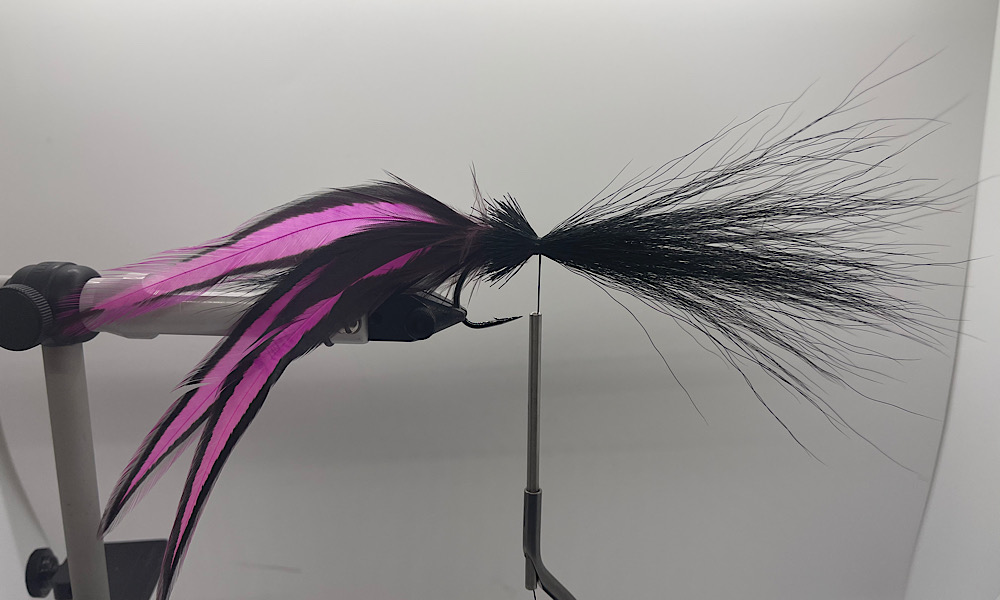
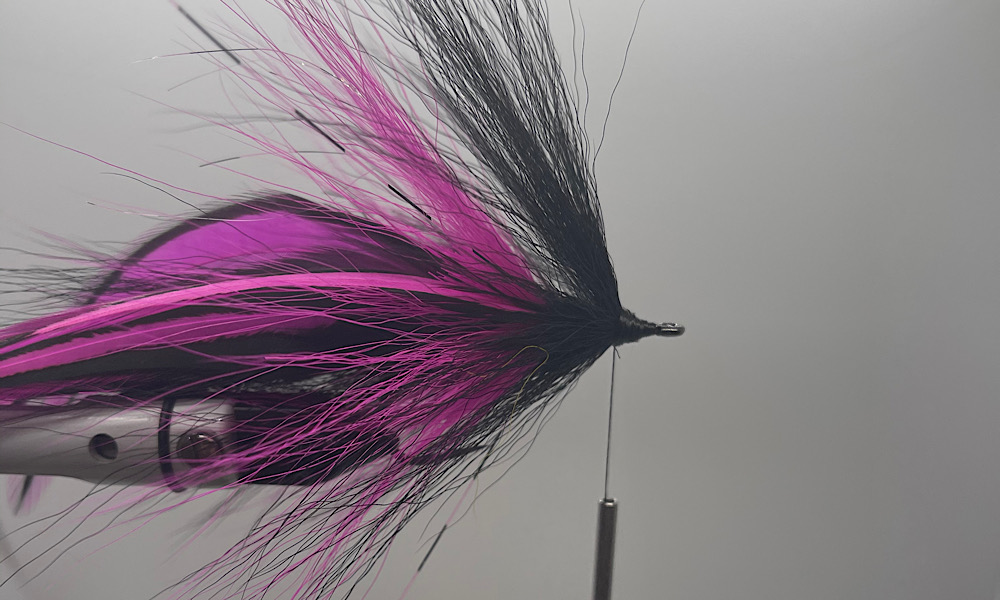
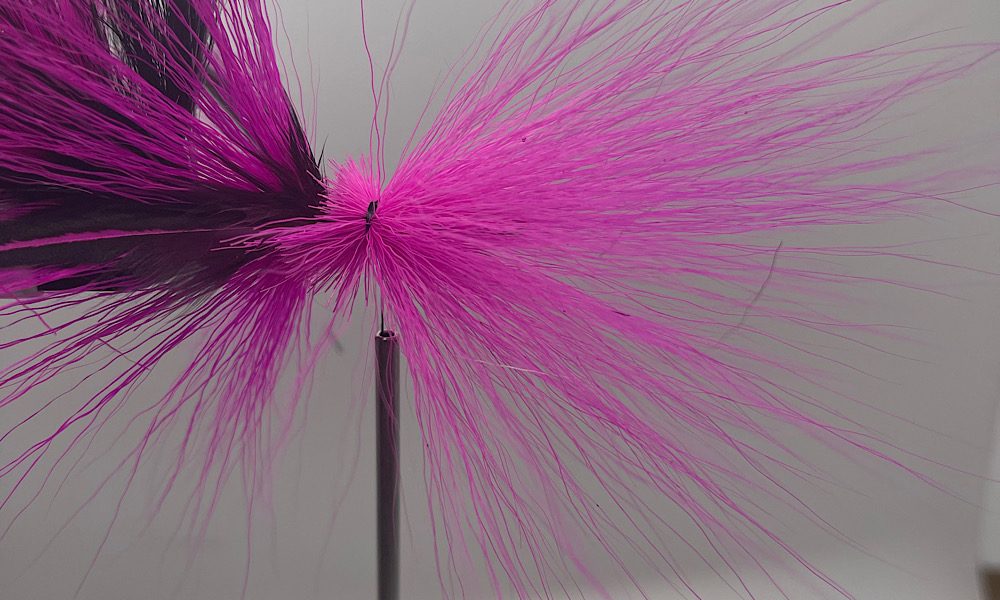
Step 5: Body
Select a pencil thickness size of black primo Buck tail and tie it in for a reverse buck tail tying. ( Tips facing the hook eye)
Step 6: Reverse tie
Push the buck tail back using your MN FLY TOOL Co. Fly tools and tie into place allowing the bucktail to flare just a bit. We want to build a tapered body so keep it closer to the hook shank at this point. UV Cure thread wraps after you have reached the desired size and shape
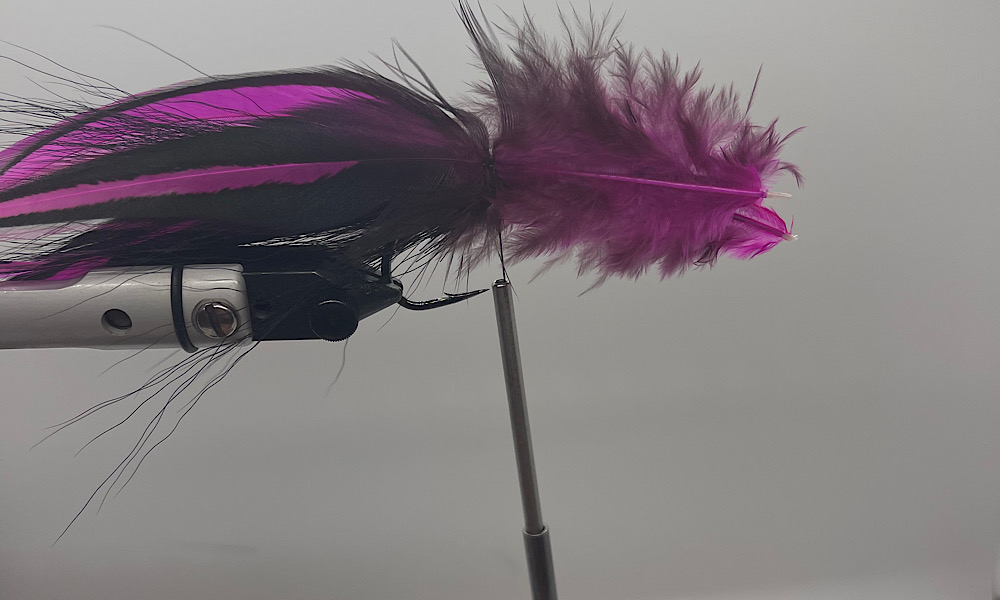
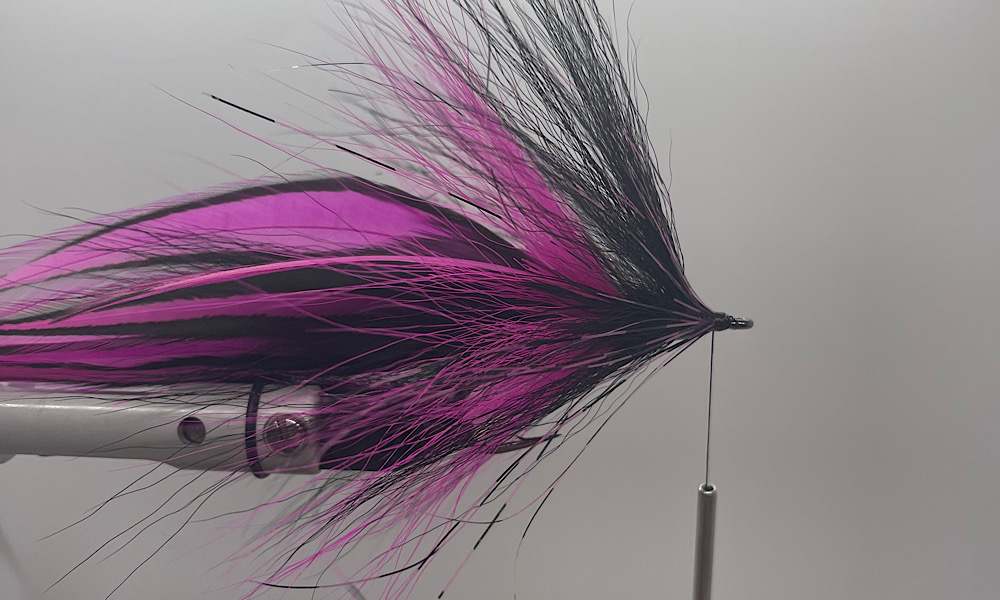
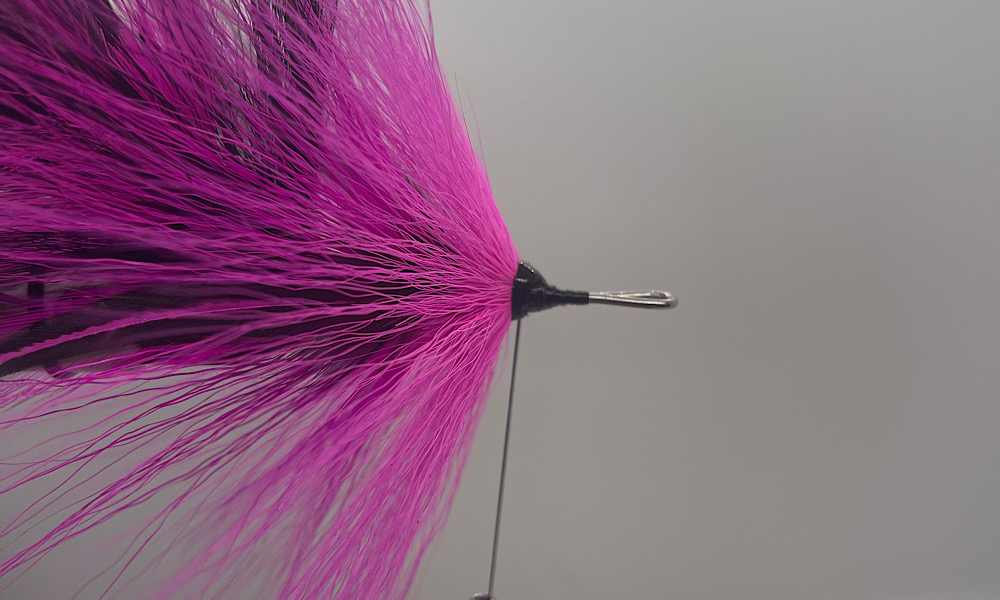
Step 7: Flank Feathers
Select two more feathers a bit smaller than the tail feathers you selected in the beginning. Tie in one on each side of the buck tail you just tied in. Trim off tag ends
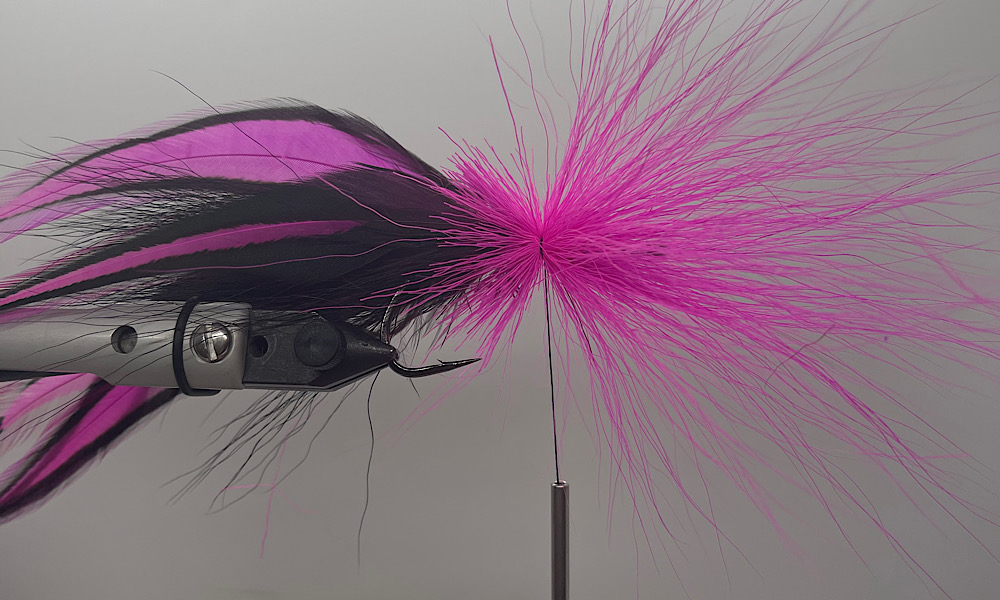
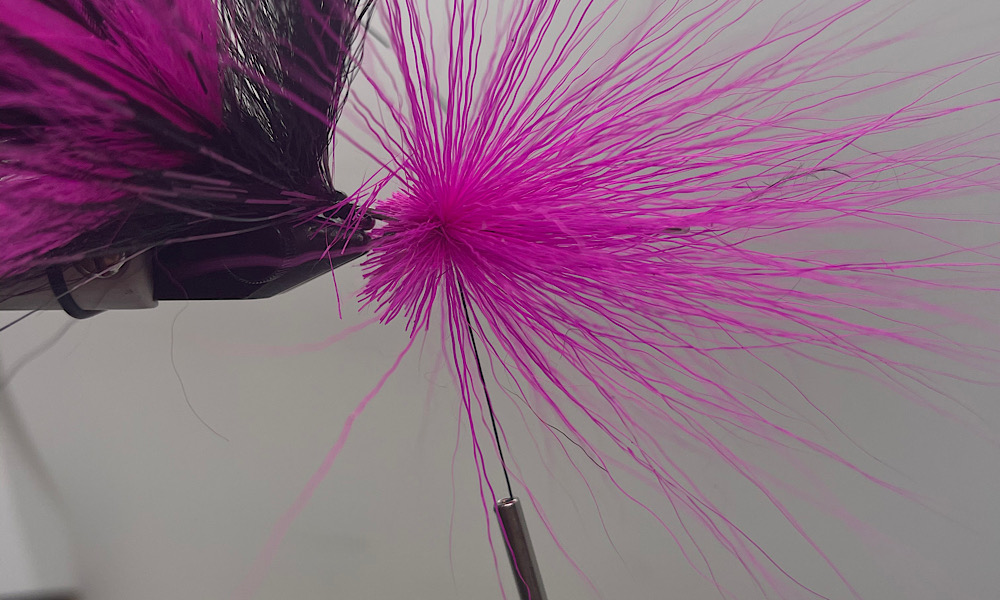
Step 8: Body
Select another pencil sized clump of Pink Buck tail and tie it in for a reverse Buck tail tie. Use very tight wraps to keep the Buck tail from falling out.

Step 9: Reverse tie
Using your MN FLY TOOL Co. Fly tool, push the buck tail back and tie it in building a dam with the thread. Take your time to create the best flare and taper you can. This need to be wider than the last to get a god looking body
Step 10: Flash
Select 6 full strands of barred flash and tie in the middle. Fold back the second half so you use all of the materials. UV Cure again to build a bomb proof tie. Remember we are chasing things with big teeth!
Step 11: Flank Feathers
Select two more matching feathers and tie them in on each side of the buck tail
Step 12: Body
Select another clump of Buck tail the same size as the others and tie it in in the same manner as before
Step 13: Reverse tie
Once again use your fly tool to reverse tie and build a taper. UV Cure.
Step 14: Flash
Select 6 more strands of barred flash and tie in the middle and fold back as you did before. Whip finish and UV Cure
Step 15: Shank
Add a 40mm shank to your hook eye
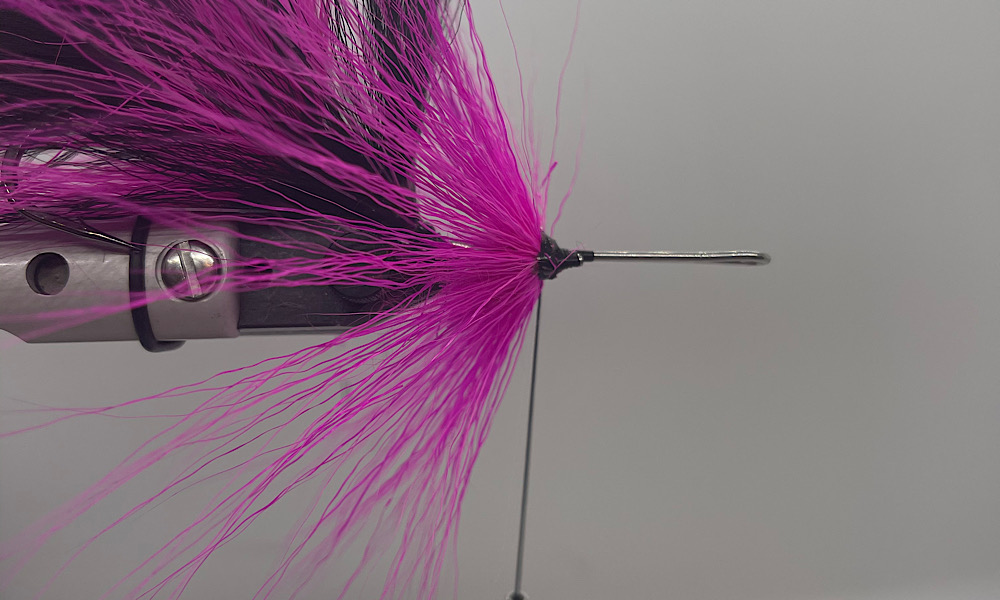
Step 16: Start shank
Insert shank into vise and tie thread in working towards the rear of the shank. Trim tag end of thread.
Step 17: Head
Select another clump of Pink Buck tail and tie in as before
Step 18: Reverse tie
Use your fly tool and reverse tie in. This should be the biggest flare for your taper. UV Cure
Step 19: Flank Feathers
Select two more feathers and tie in on each side of buck tail as you did previously
Step 20: Body
Select another and final clump of pink Buck tail and tie it in as before.
Step 21: Reverse tie
Push the Buck tail back and tie in with a damn. This is the last reverse tie so make the flare match the previous buck tail. UV Cure
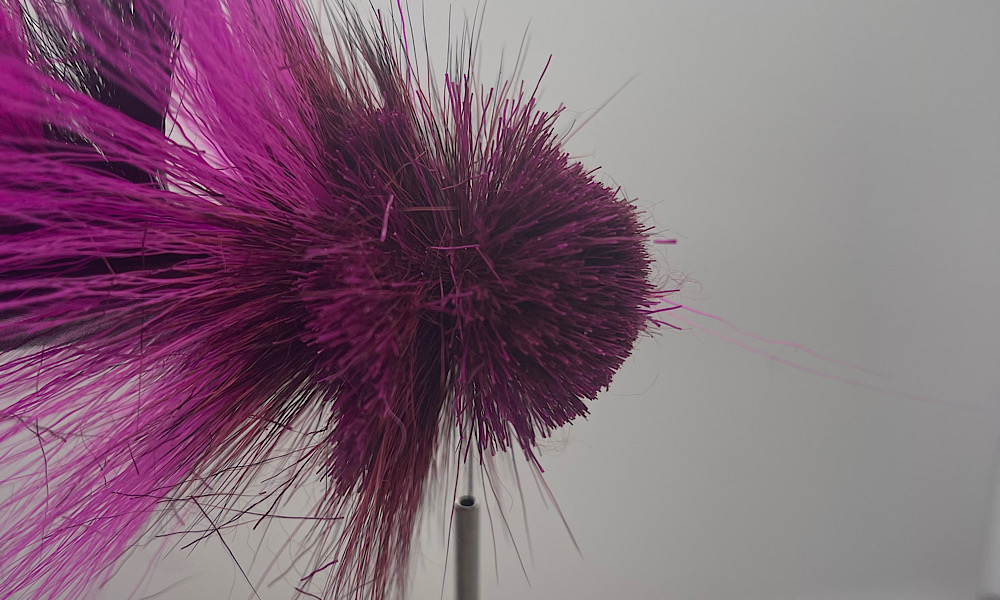
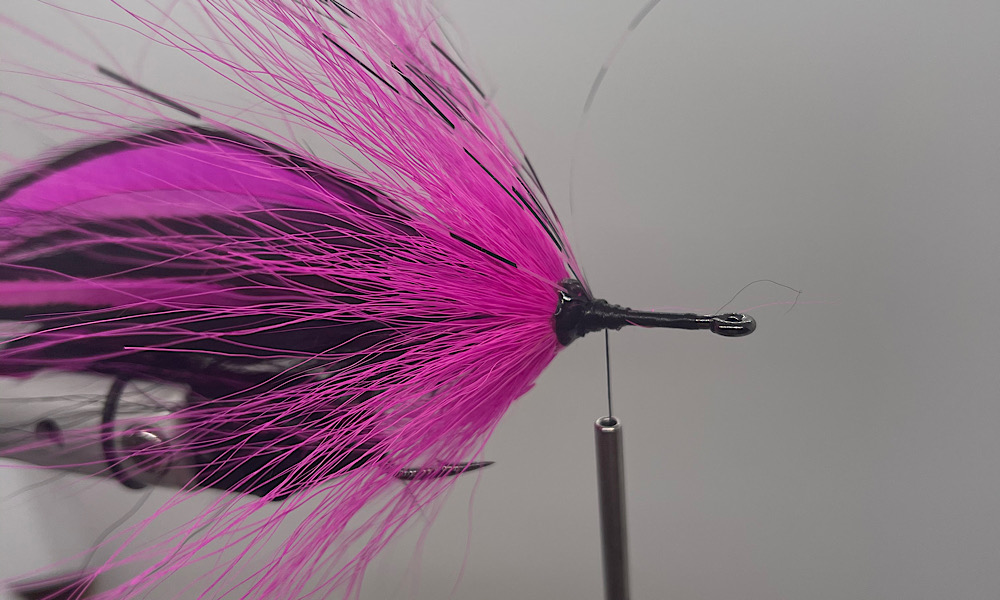
Step 22: Spinning the head
Select a large clump of bucktail off the backside or middle to use for spinning. Add more as needed to fill the shank and crate the head.
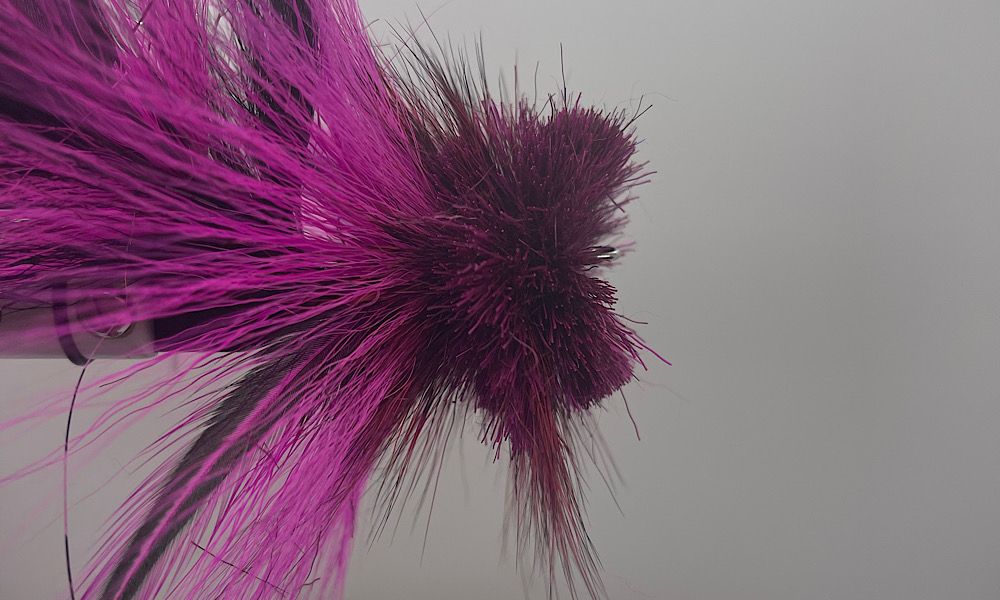
Step 23: Pack
Using you hair packer attachment on your fly tool pack the spun buck tail to flatten and create a Buford style head
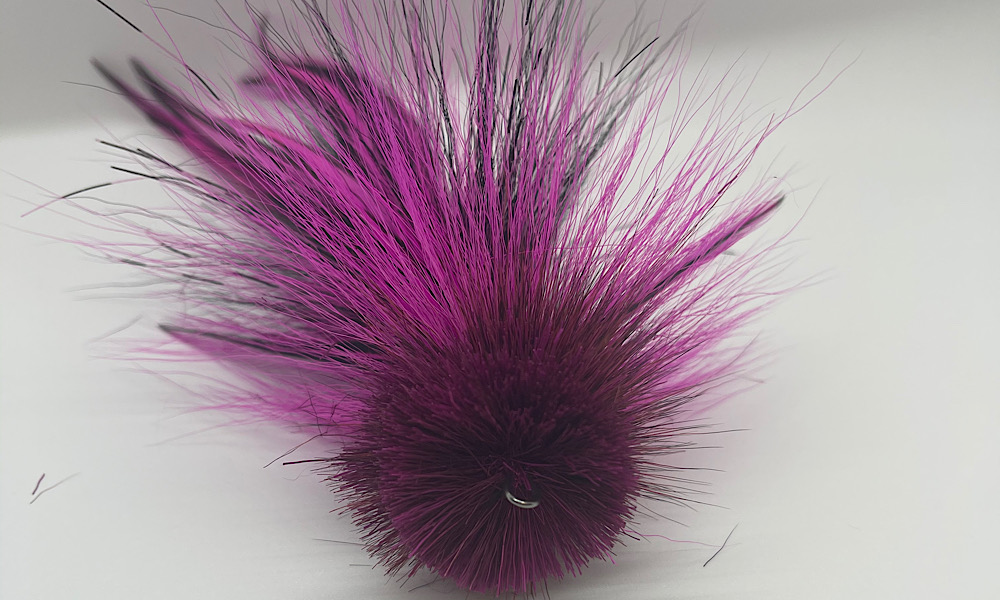
Step 24: Finish
Advance your thread forward and finish the fly off with a whip finish behind the hook eye. UV Cure or glue.